I'm saving up for a trip to Glasgow (to go see a lovely man of mine), and I'm not too good at saving (hehehe) so I decided if I was taking this seriously I needed a piggy bank. So I thought: why buy when you can DIY? Especially when the end product is so adorable
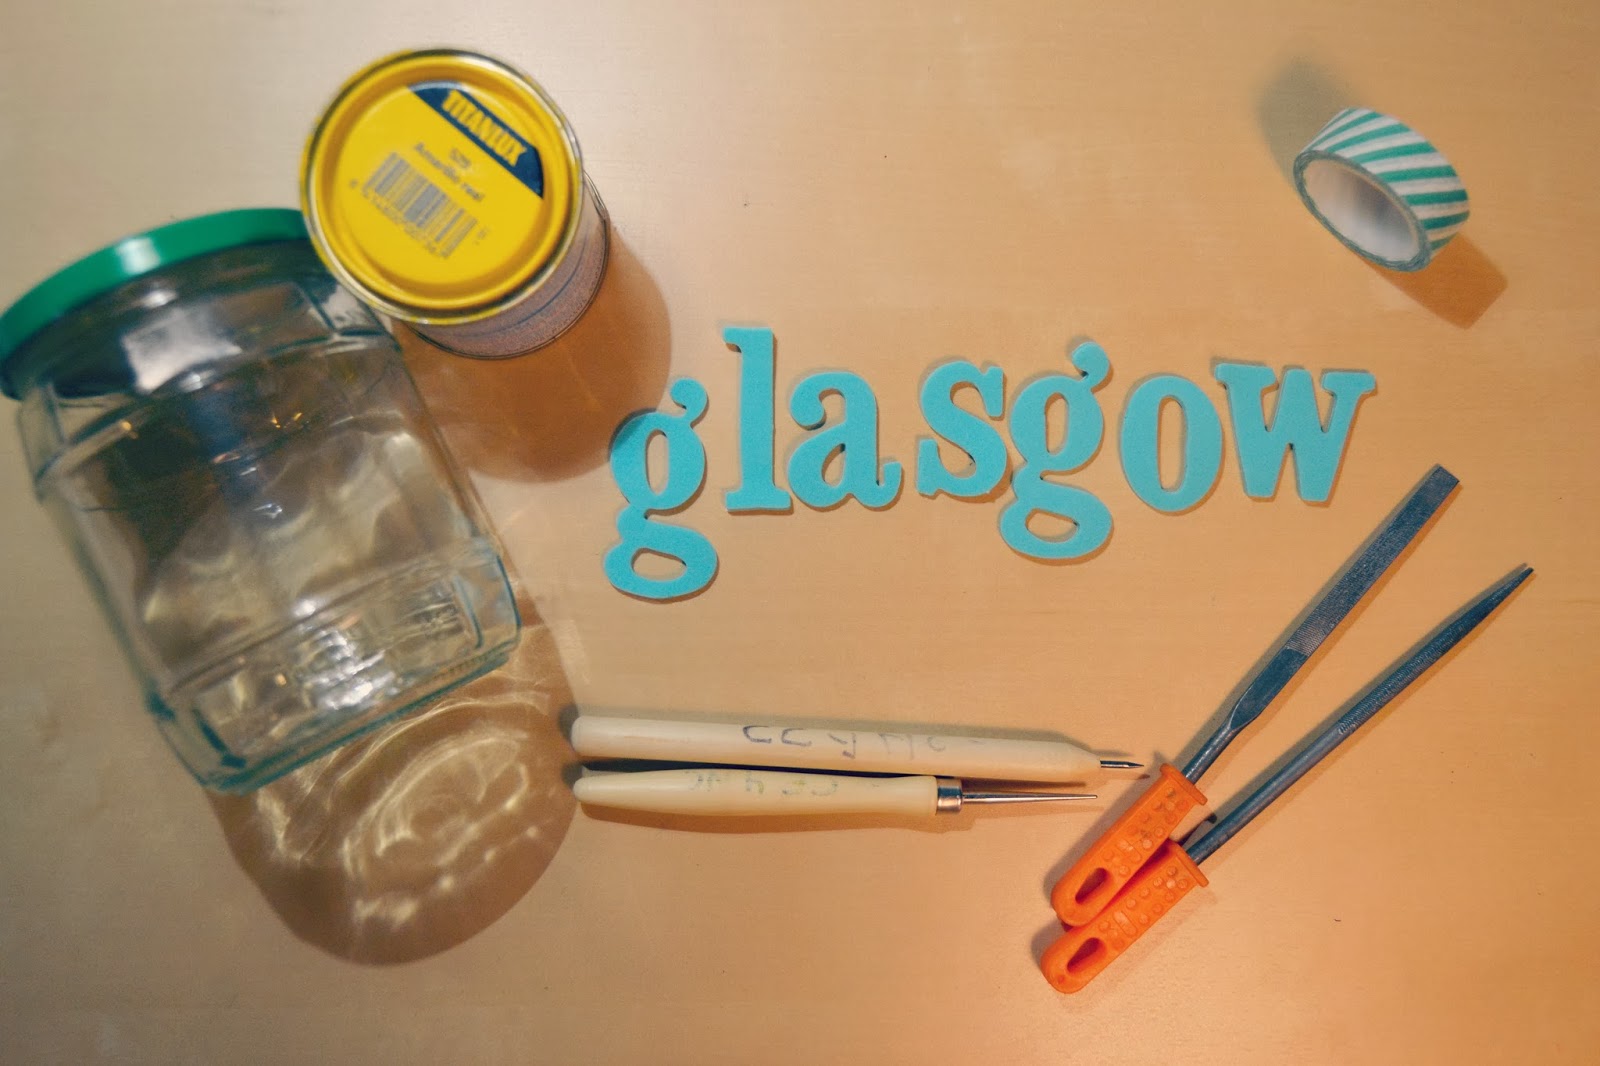
Here's what you'll need:
- Empty and clean glass jar
- Sticky foam letters
- Acrylic paint
- Washi tape (I ended up using a different one)
- Thin and thicker burins
- Metallic files
The lid
1. Decide on the size of the slot. I folded up a bill and it measured 3.5 cm wide. I decided on a slot 1 cm wider (4.5cm). Mark it down on the lid making sure it's centered. Puncture at the ends and in the middle.
2. Make a hole equally spaced between the first and the second hole, and another in between the second and the third
3. Keep adding holes in between other holes until you have a line of holes
4. With a thicker burin, move it back and forth to join all the holes
5. Use the metallic files to smooth out the edges
6. Paint the lid with acrylic white paint and leave to dry. Tape the lid making a small cut for the slot.
The jar
Add some acrylic paint and swirl to cover the inside of the jar. Turn it upside down and let the paint wring for 10 or 15 minutes. If there's a lot spare, you may be able to put it back to the paint can. Leave to dry. Stick the letters.
Stick the lid to the jar with a strong gluestick to avoid temptations... (hehehe)
Glasgow, I'm coming! (Sweet scotsman, I'm coming for you)